Basemaps
Note: We are reducing our investment in CARTO for React and currently we discourage users from starting new projects with it.
CARTO for React is an opinionated framework with pre-built components and templates. This greatly speeds up the process to create React-based applications, but customization options are limited.
If you need further customization in React, or you want to build geospatial applications using Vue, Angular, or any other Javascript-based framework, we recommend going directly to the main CARTO for Developers documentation, including CARTO + deck.gl, which allows for maximum flexibility and scalability.
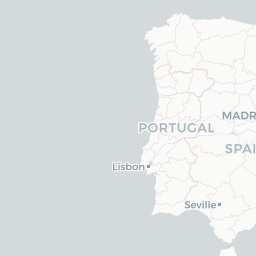
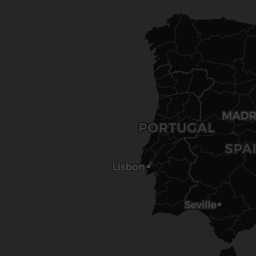
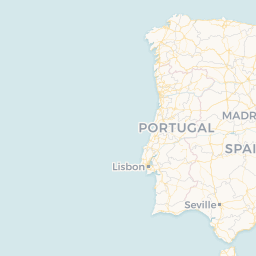
This guide shows how you can change the basemap in your CARTO for React application. By default, the application will use the CARTO Voyager basemap, but you can choose any other CARTO basemap (Dark Matter, Voyager) or you can also use a Google Maps basemap.
These are the available basemaps:
GOOGLE_ROADMAP
No preview available yet
GOOGLE_SATELLITE
No preview available yet
GOOGLE_HYBRID
No preview available yet
GOOGLE_CUSTOM
No preview available yet
If you want to change the default (Voyager) basemap, you need to edit the src/store/initialStateSlice.js file. At the top of this file we are importing the basemap from the @carto/react package.
For instance, if you want to use a Google Maps roadmap basemap, you need to import it like this:
import { GOOGLE_ROADMAP } from '@carto/react-basemaps';Then you need to modify the “basemap” property in the initialState object and provide the Google Maps API key:
export const initialState = {
  ...
  basemap: GOOGLE_ROADMAP,
  googleApiKey: 'AAAAABBBBBBBCCCCCCC11111122222233333',
  ...
};Custom basemaps
You can use custom basemaps, in addition to the default basemaps provided by CARTO and Google. In this section we discuss how to configure your application to use these basemaps.
Google custom basemap
If you want to use a Google Maps custom basemap, you need to import it like this in the src/store/initialStateSlice.js file:
Then you need to modify the “basemap” property in the initialState object and provide the map ID and Google Maps API key:
CARTO custom basemap
CARTO basemaps follow the Mapbox Style Specification. If you want to create your custom basemap, you can use a visual editor like Maputnik. This is the process:
Load the style closest to the basemap you want to create (Positron, Voyager or Dark Matter) through the
Load from URLoption in theOpen Styledialog, using the URLs provided above.Edit the style properties for each layer you want to customize.
Export the style in JSON format using the
Exportdialog.Add the JSON file to your project (adding it to your public folder is a good choice, for example public/custom_basemap.json).
Edit the
basemapproperty in thesrc/store/initialStateSlice.js:
Custom layer as a basemap
You can also use a custom layer as the basemap. In this case you will be actually not using a basemap but just adding a deck.gl layer in the bottom most position. For instance, this can be used to load a WMTS service using the TileLayer.
You can add the basemap layer to each of the views where you want to use it or even add it to the <Main> view if you want to use it in all the application views.
Last updated
Was this helpful?


